Devil & Angel Deserts
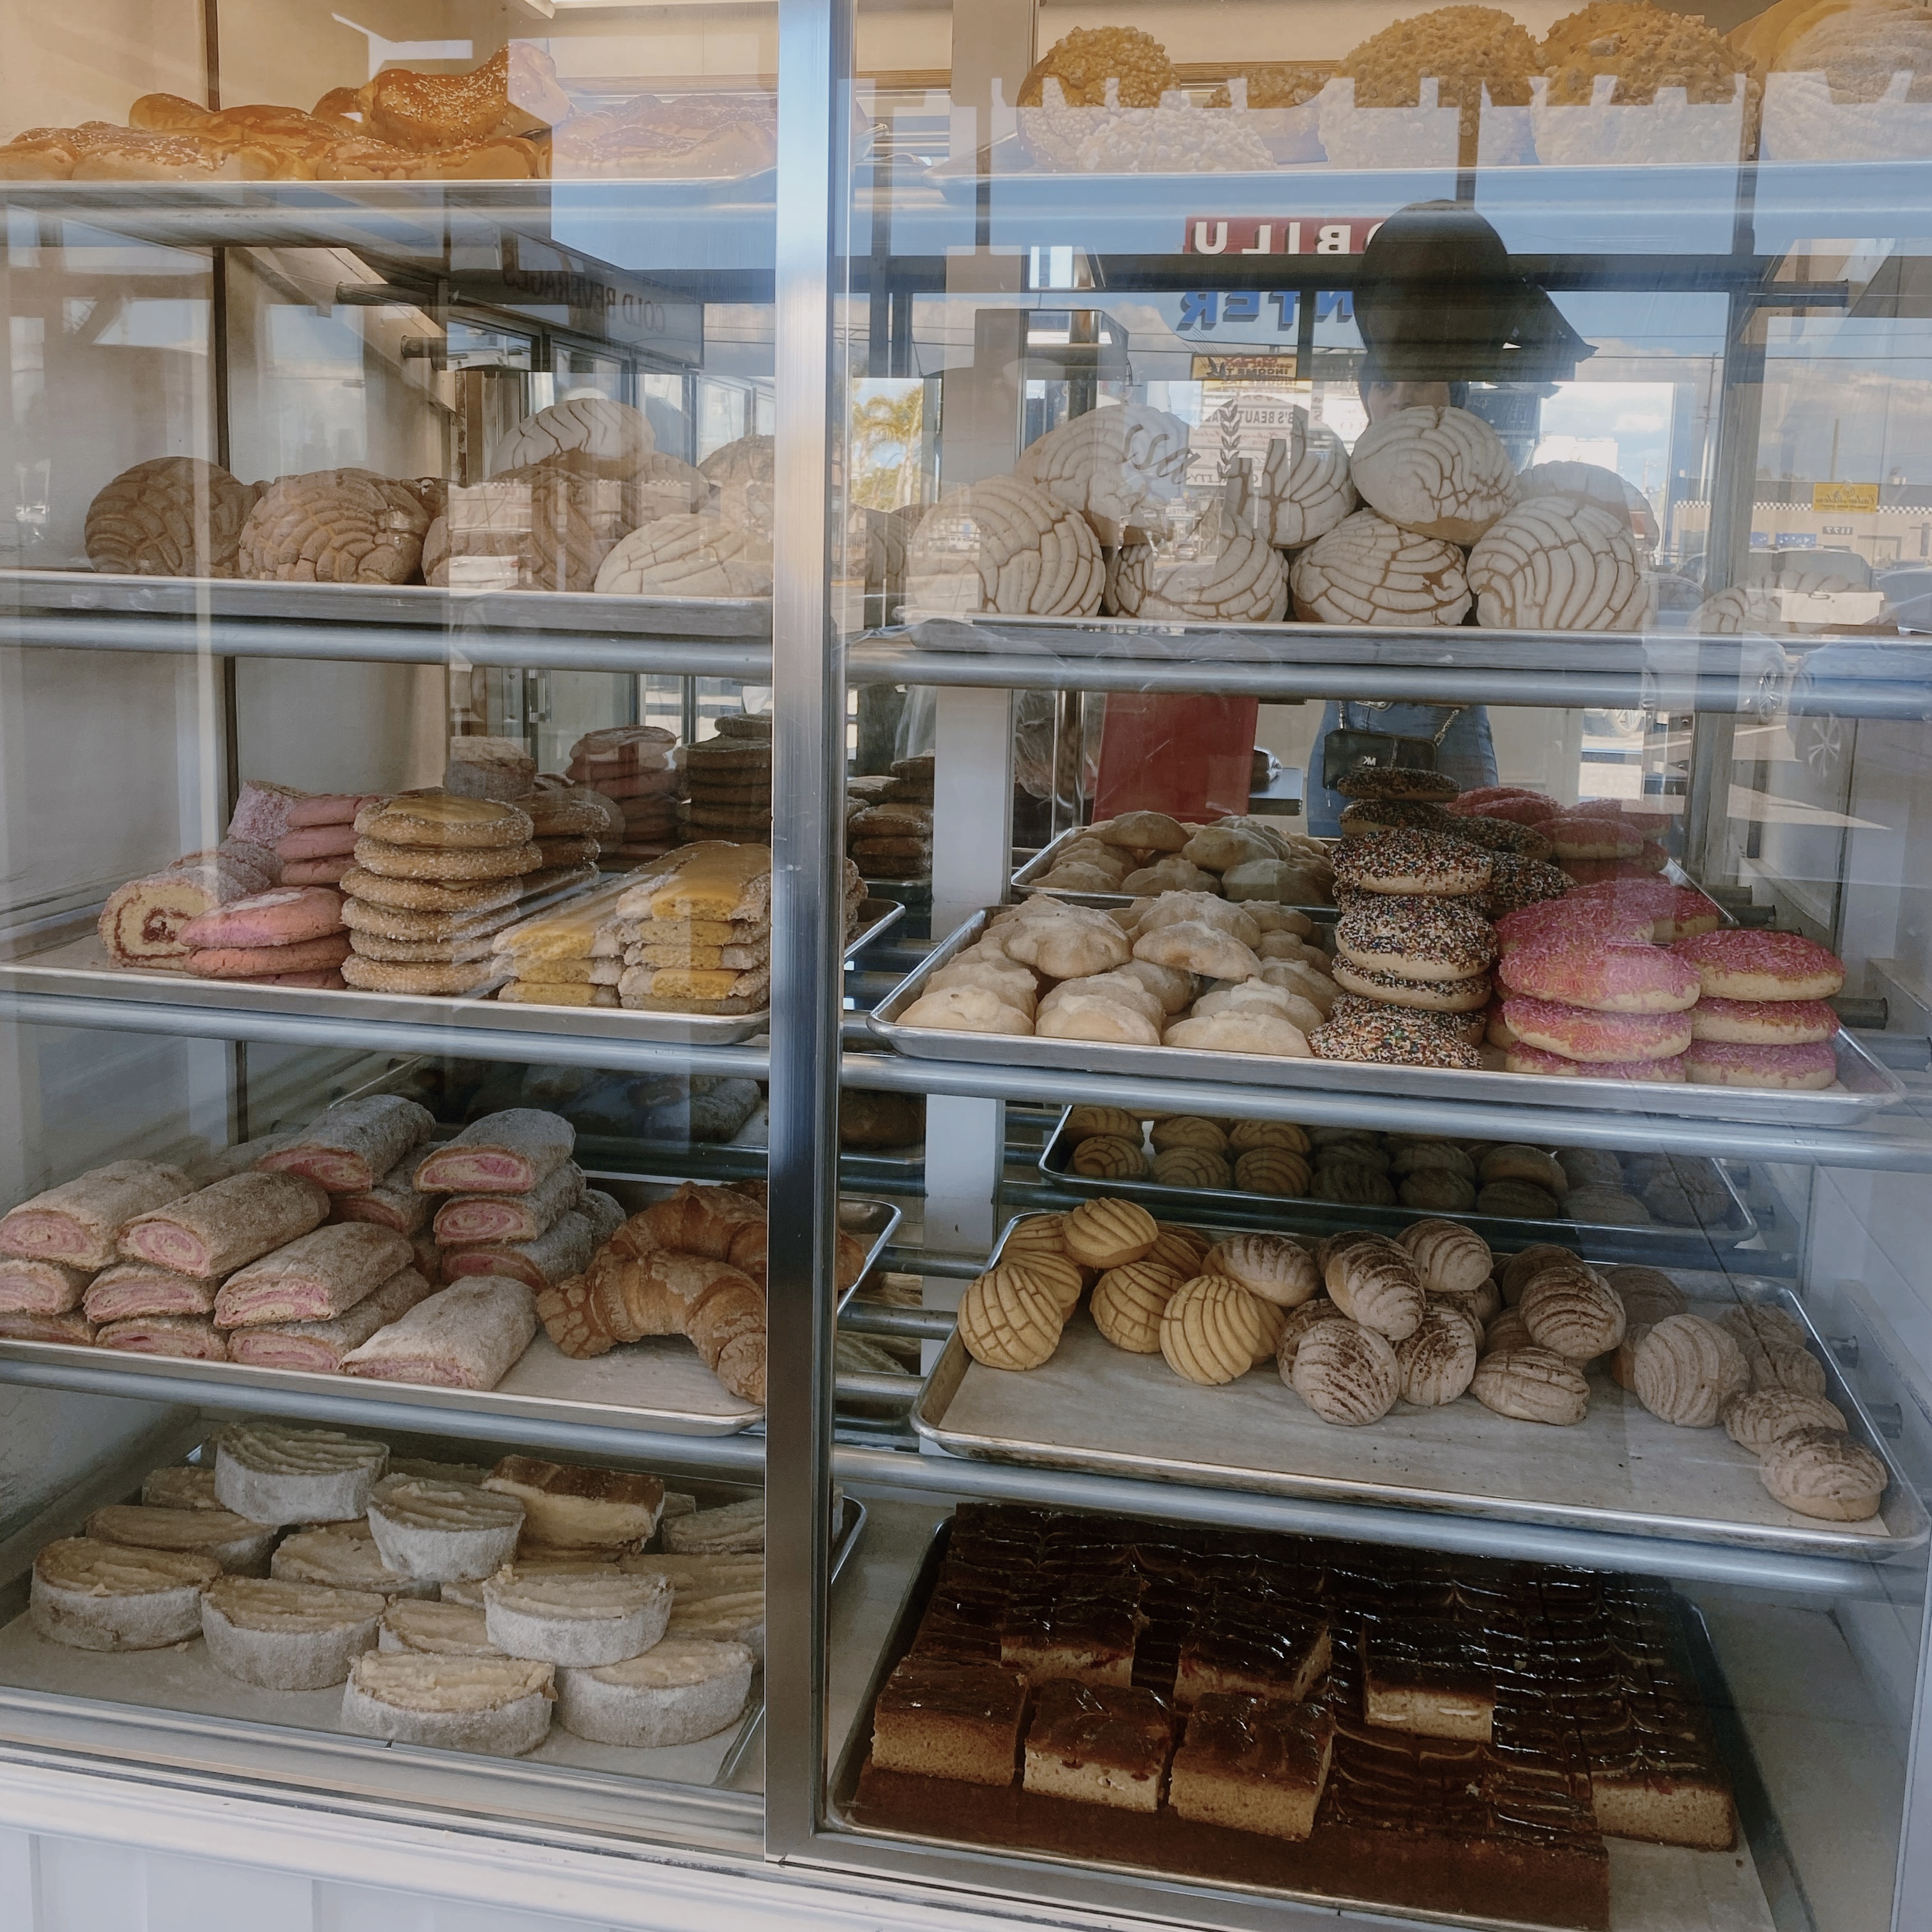
This is a place to stuff your face in some good treats! I wouldn’t miss out if I were you!
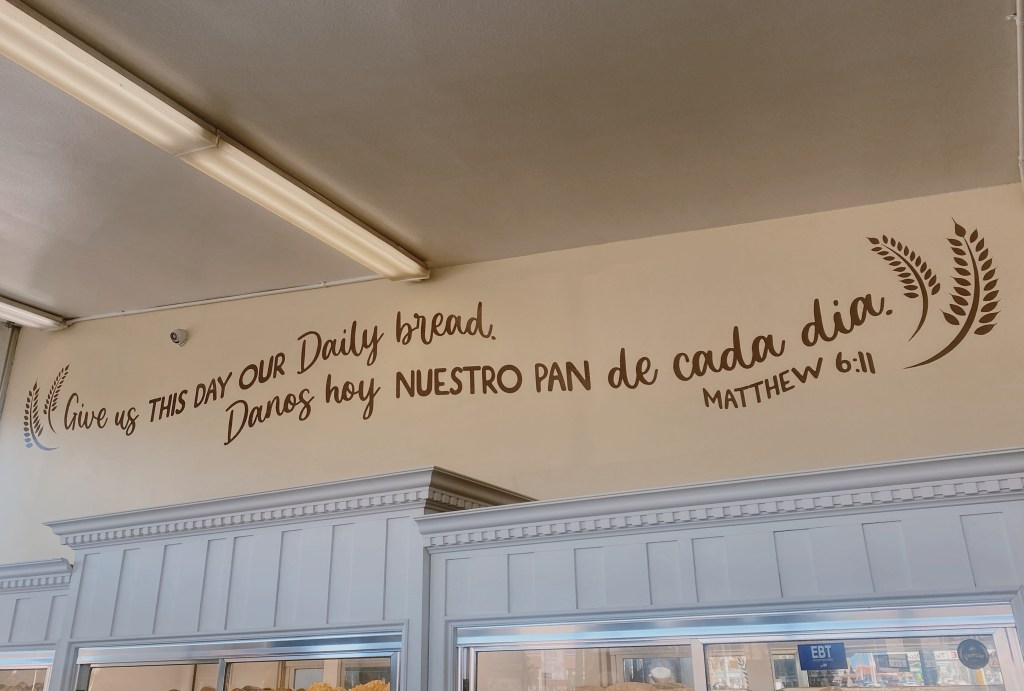
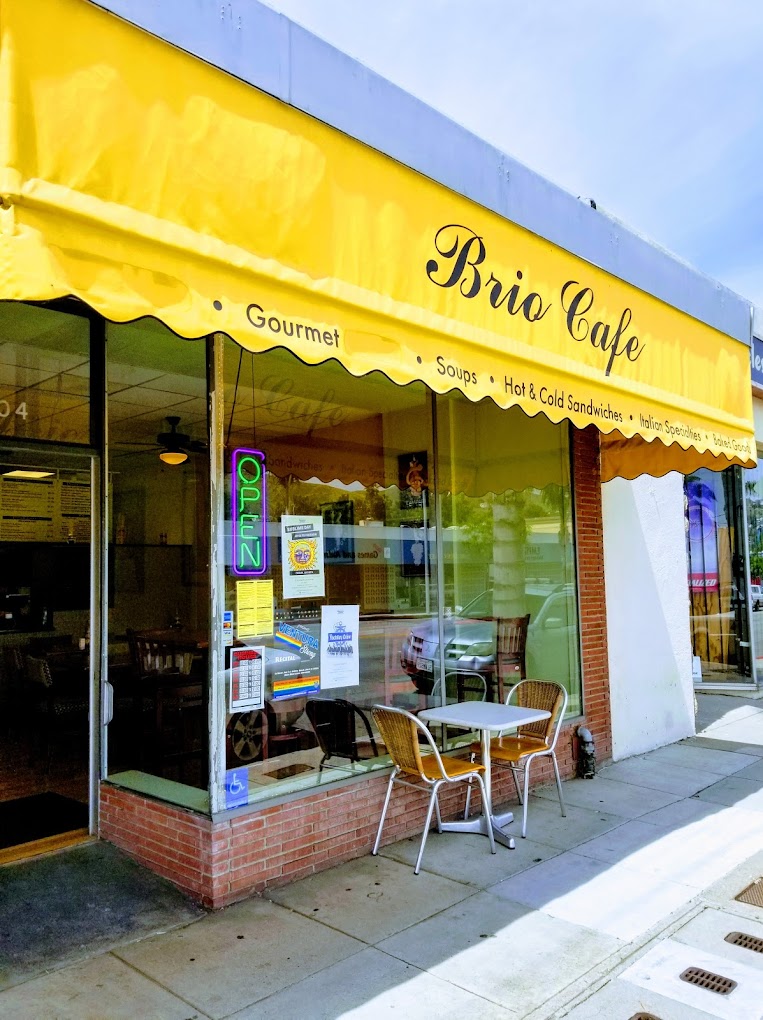
This lovely place is located in Oxnard, CA in the Collection Riverpark near the movie theatre.
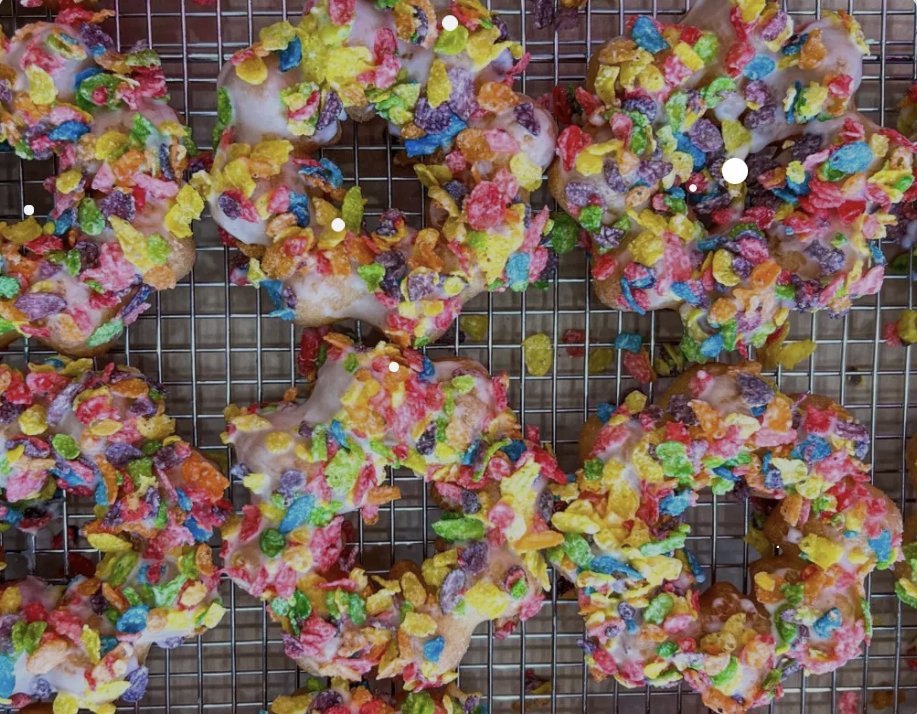
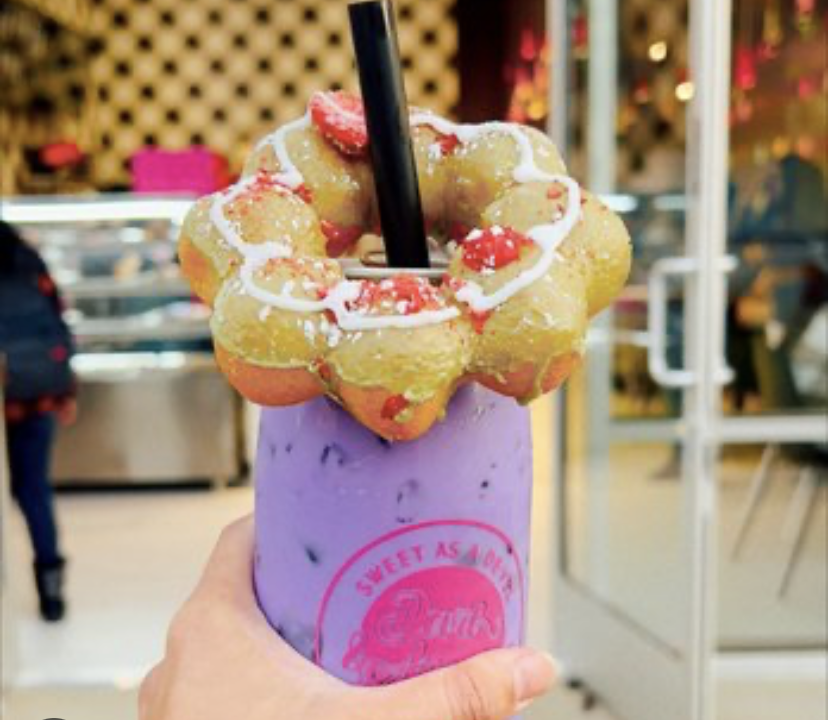
They have a lot of different donuts to chose from to satisfy any cravings. For example Matcha, Chocolate, Cookies and Cream, Cookie Monster, Milk & Cereal, Pistachio, Strawberry, Thai Tea, Tiramisu, and Ube. My favorite so far is the chocolate and the matcha flavor. The texture of them are different then normal donuts but are surprisingly good.
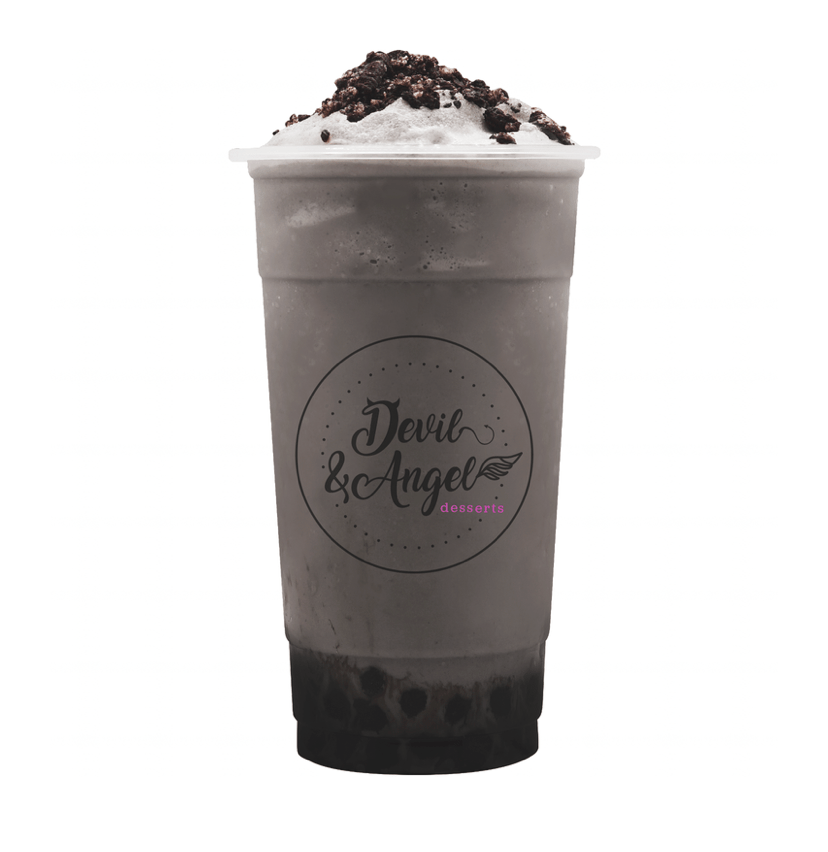

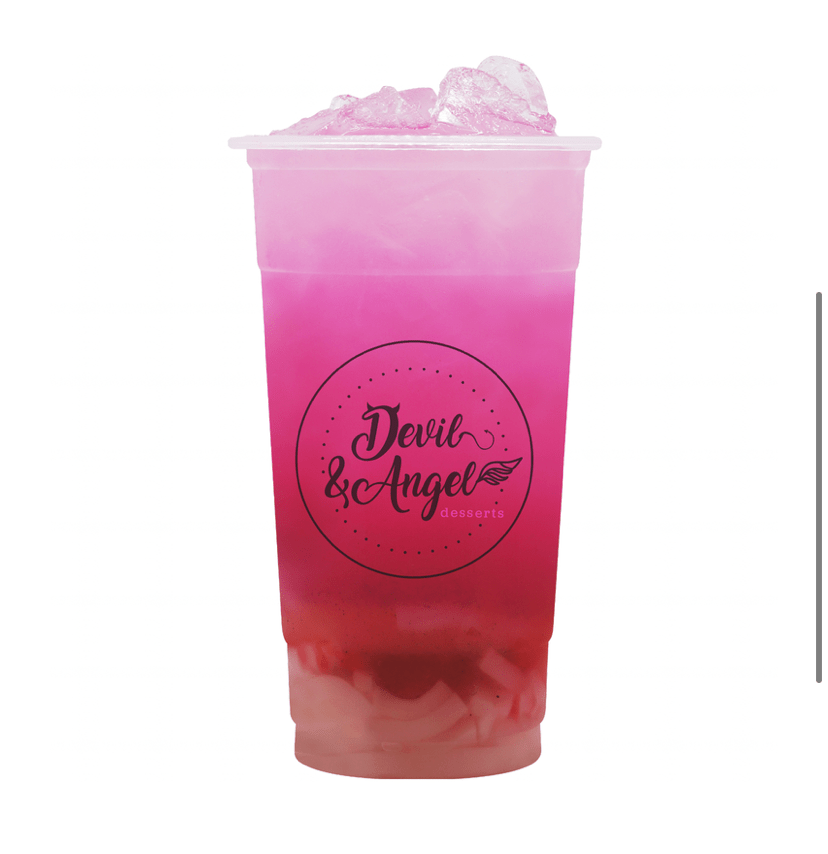
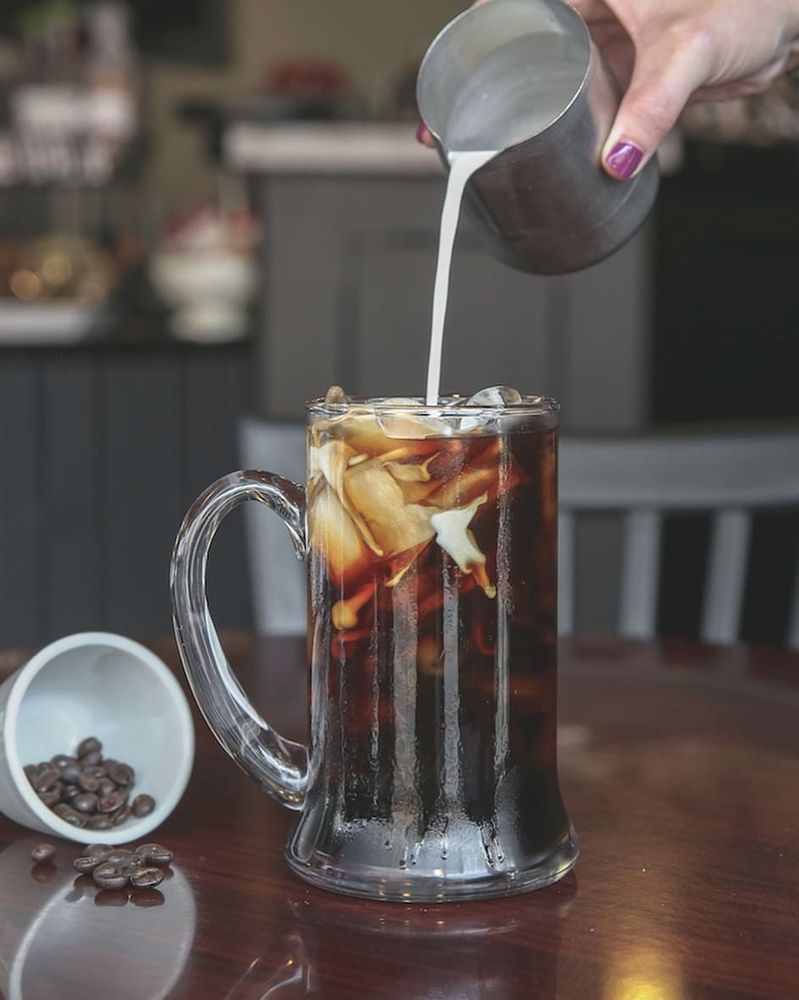
You can also choose between a Refresher, Smoothie, or Boba drink. They have sweet and tangy to smooth and creamy flavors like cookies and cream smoothies or a milk tea like matcha. I love the matcha flavor and you even can get it with crystal jelly inside. That just adds a texture to the drink similar to boba.

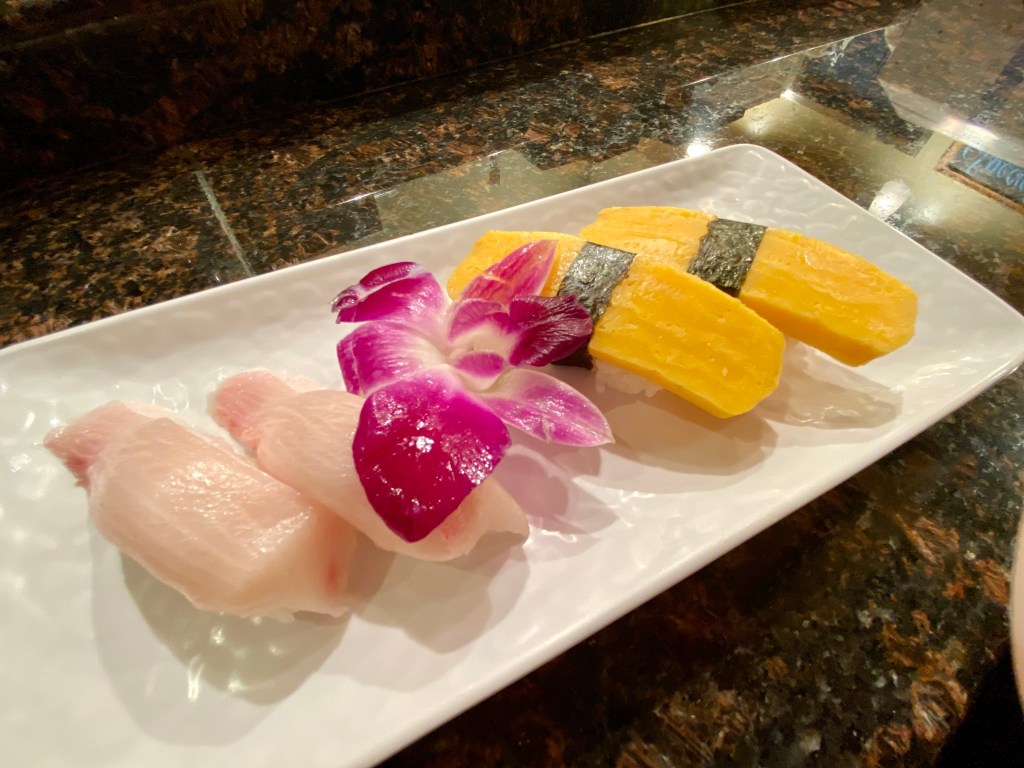
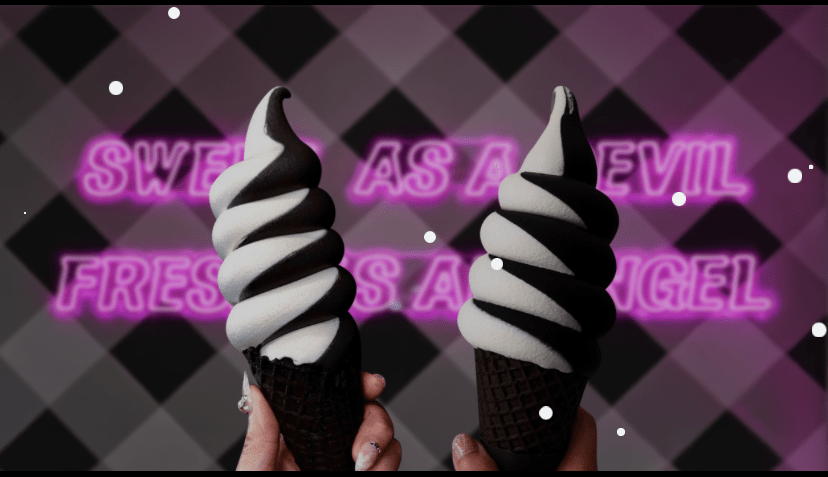
If your feeling like having something cold and creamy they got you!! They even have soft serve ice cream! Know that sounds good! You can get it in a cone or cup with a little breaded fish or even with boba.
If you’re looking for a new dessert shop and tired of getting your usual sweats. I definitely recommend this one! Its cool and a nice place to go to after dinner. You wont regret it and the kids will love you after!