This past weekend before Spring Break I decided I was going to go to this art expo by my house. For what reason? Because the ad I found on Instagram was titled “Star Wars, Marvel, DC Art Expo” and that’s all I needed to see to be hooked.
The Amazing Art Expo!!!
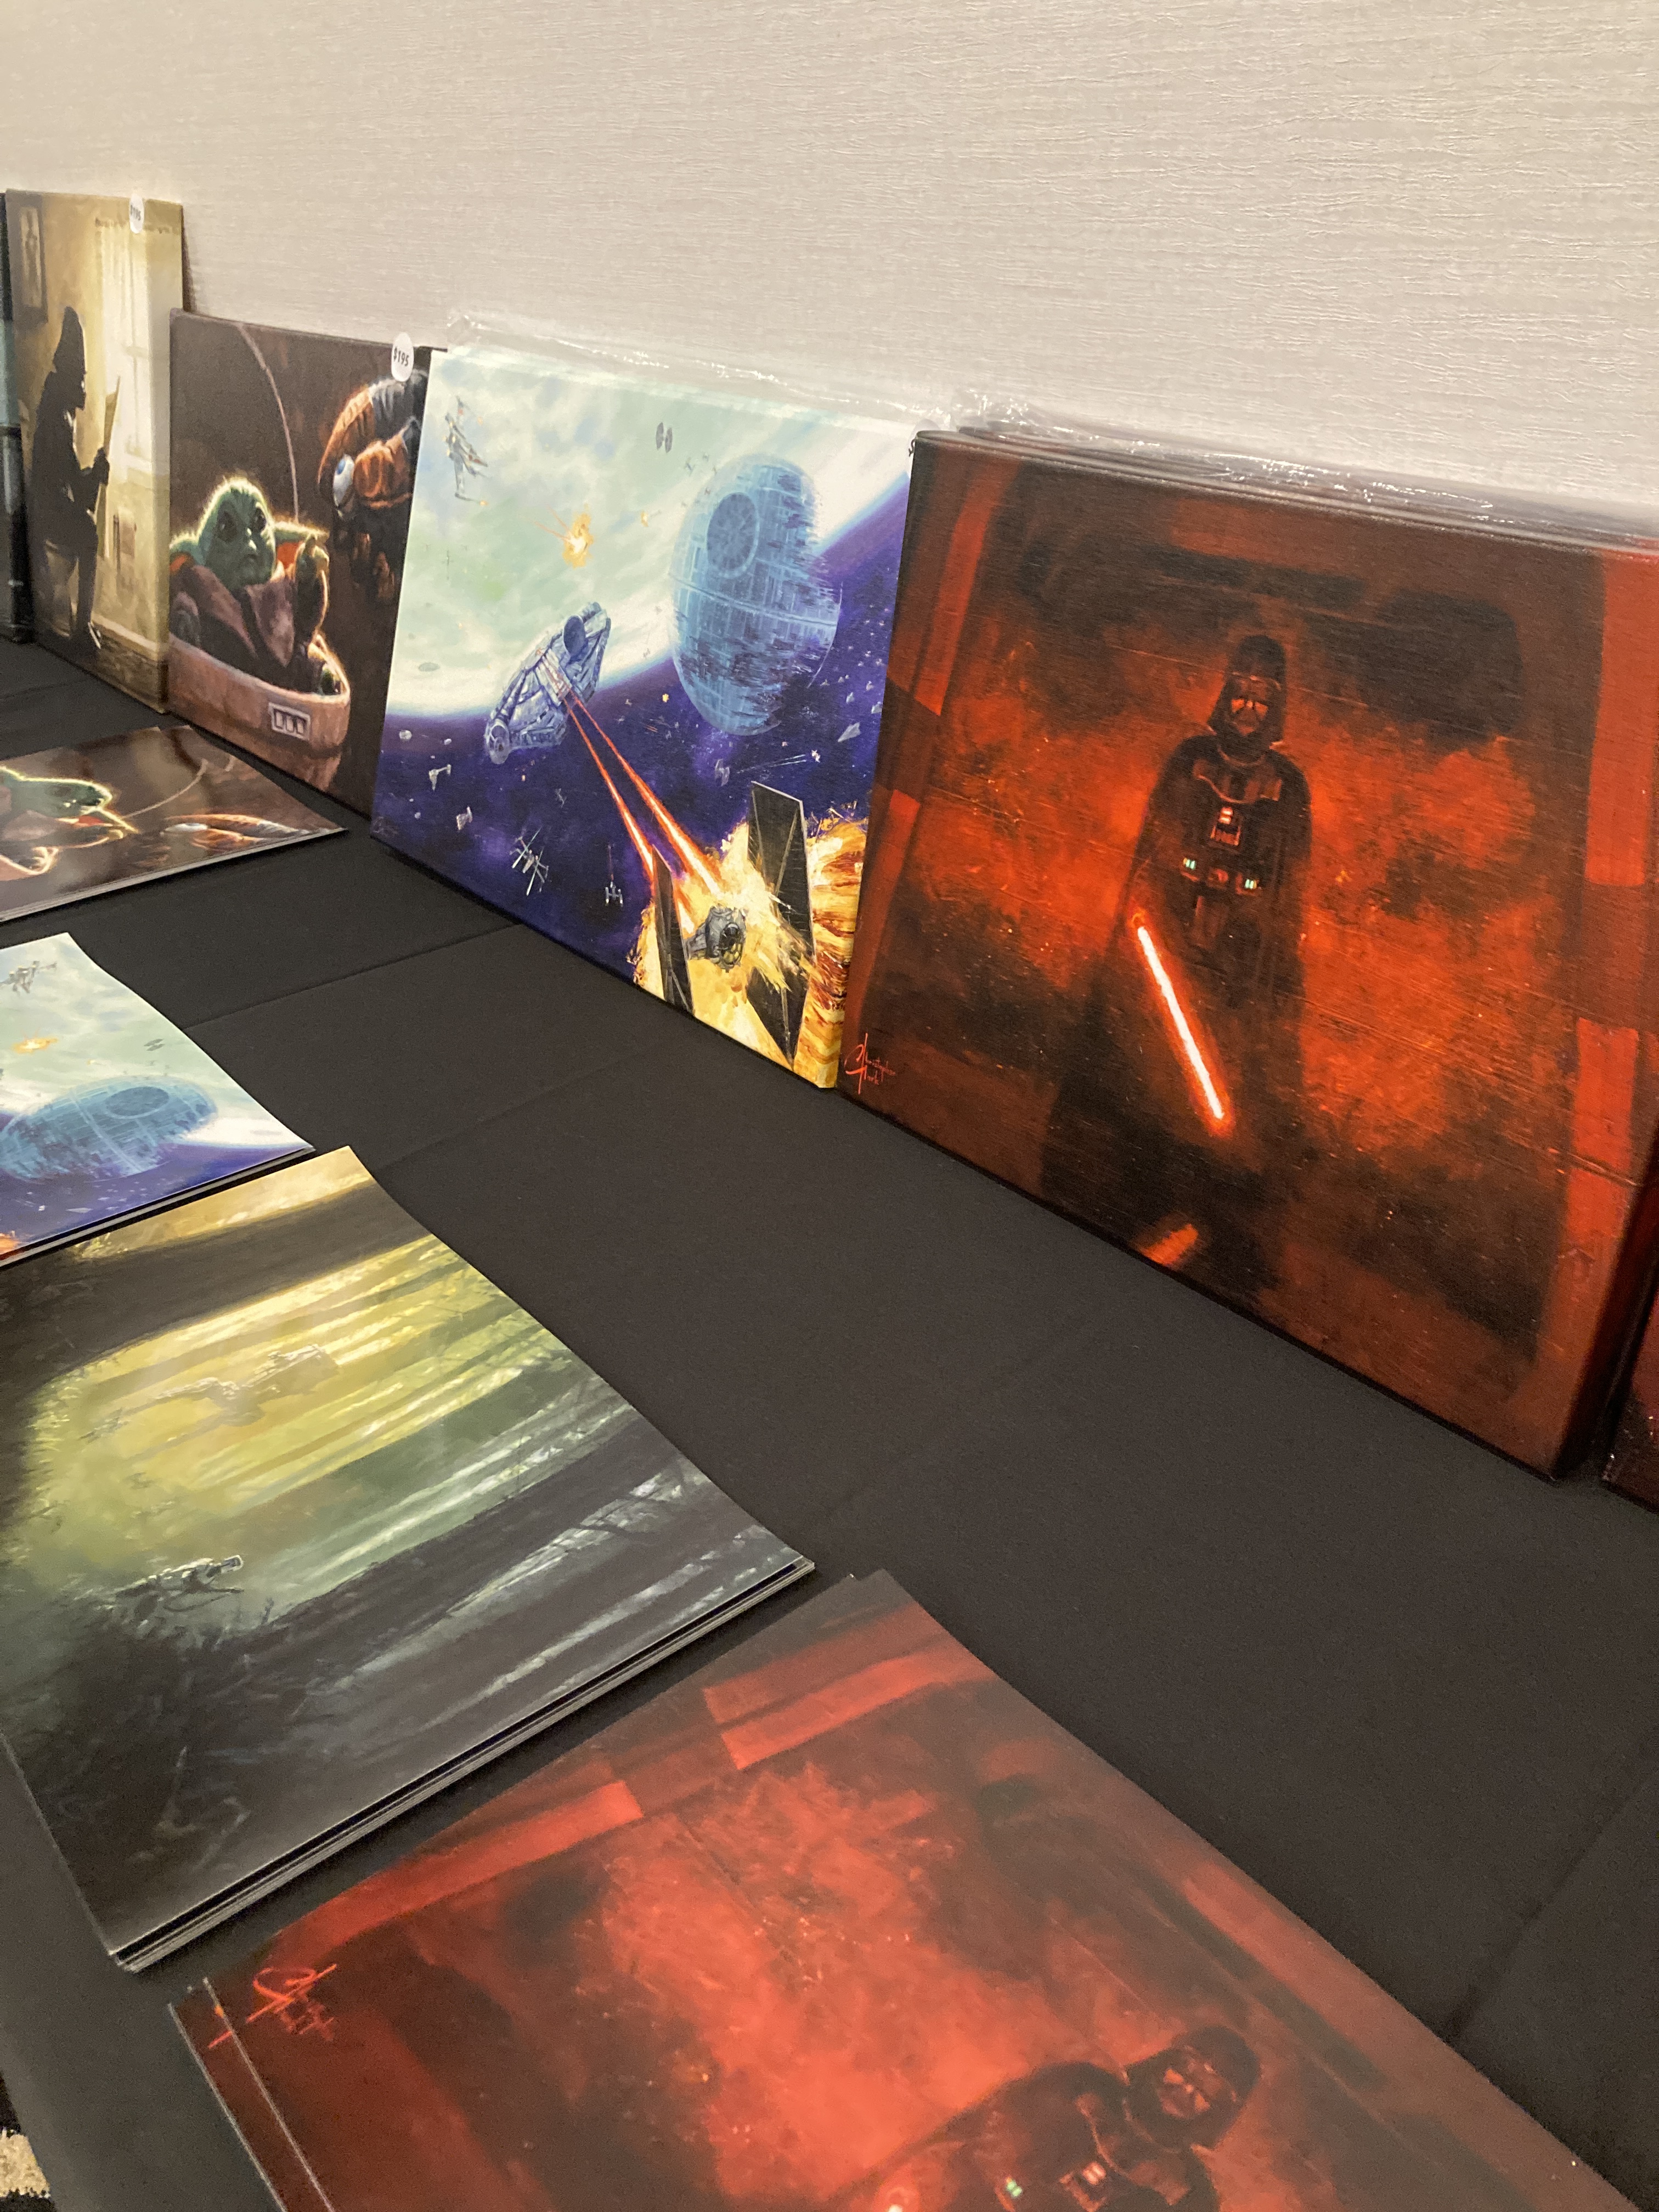
First time ever hosted in Oxnard, CA, this event was a 3 day free event that landed on Friday, March 27 – Sunday, March 29 was such an amazing and fun event to go to. The venue was the Staybridge Suites (River Ridge) in Oxnard, California. The featuring art they had displayed were Anime, Video Games, Star Wars, Horror & Monster Art, Disney Princesses/Characters, Marvel, DC Comics, Lord of The Rings, DND/Fantasy & Dragons and more! “A representative and collective of 12 different artists such as: Christopher Clark, Nastiya Grushovenko, Dominic Glover, Adam Michaels, Ashley Raine, and many more! Everything around the room was hand drawn, created by an artist, nothing was made by AI in this room.” said by Rachi Felici, one of the event’s organizers. As you can see there is extremely amazing pieces of work drawn and presented here. All of the art really brought out my nerdy side because I knew every genre of art that were there. From the Harry Potter art to the One Piece art. My favorite, of course, was the Star Wars art. You can check out the Amazing Art Expo website below —- https://amazingartexpo.com/?srsltid=AfmBOootJRVg1c5I8pNZMms-Xi4-3-qRCFqC0HHPhNZrru2ZKua58f4H
Voice Actor Appereances
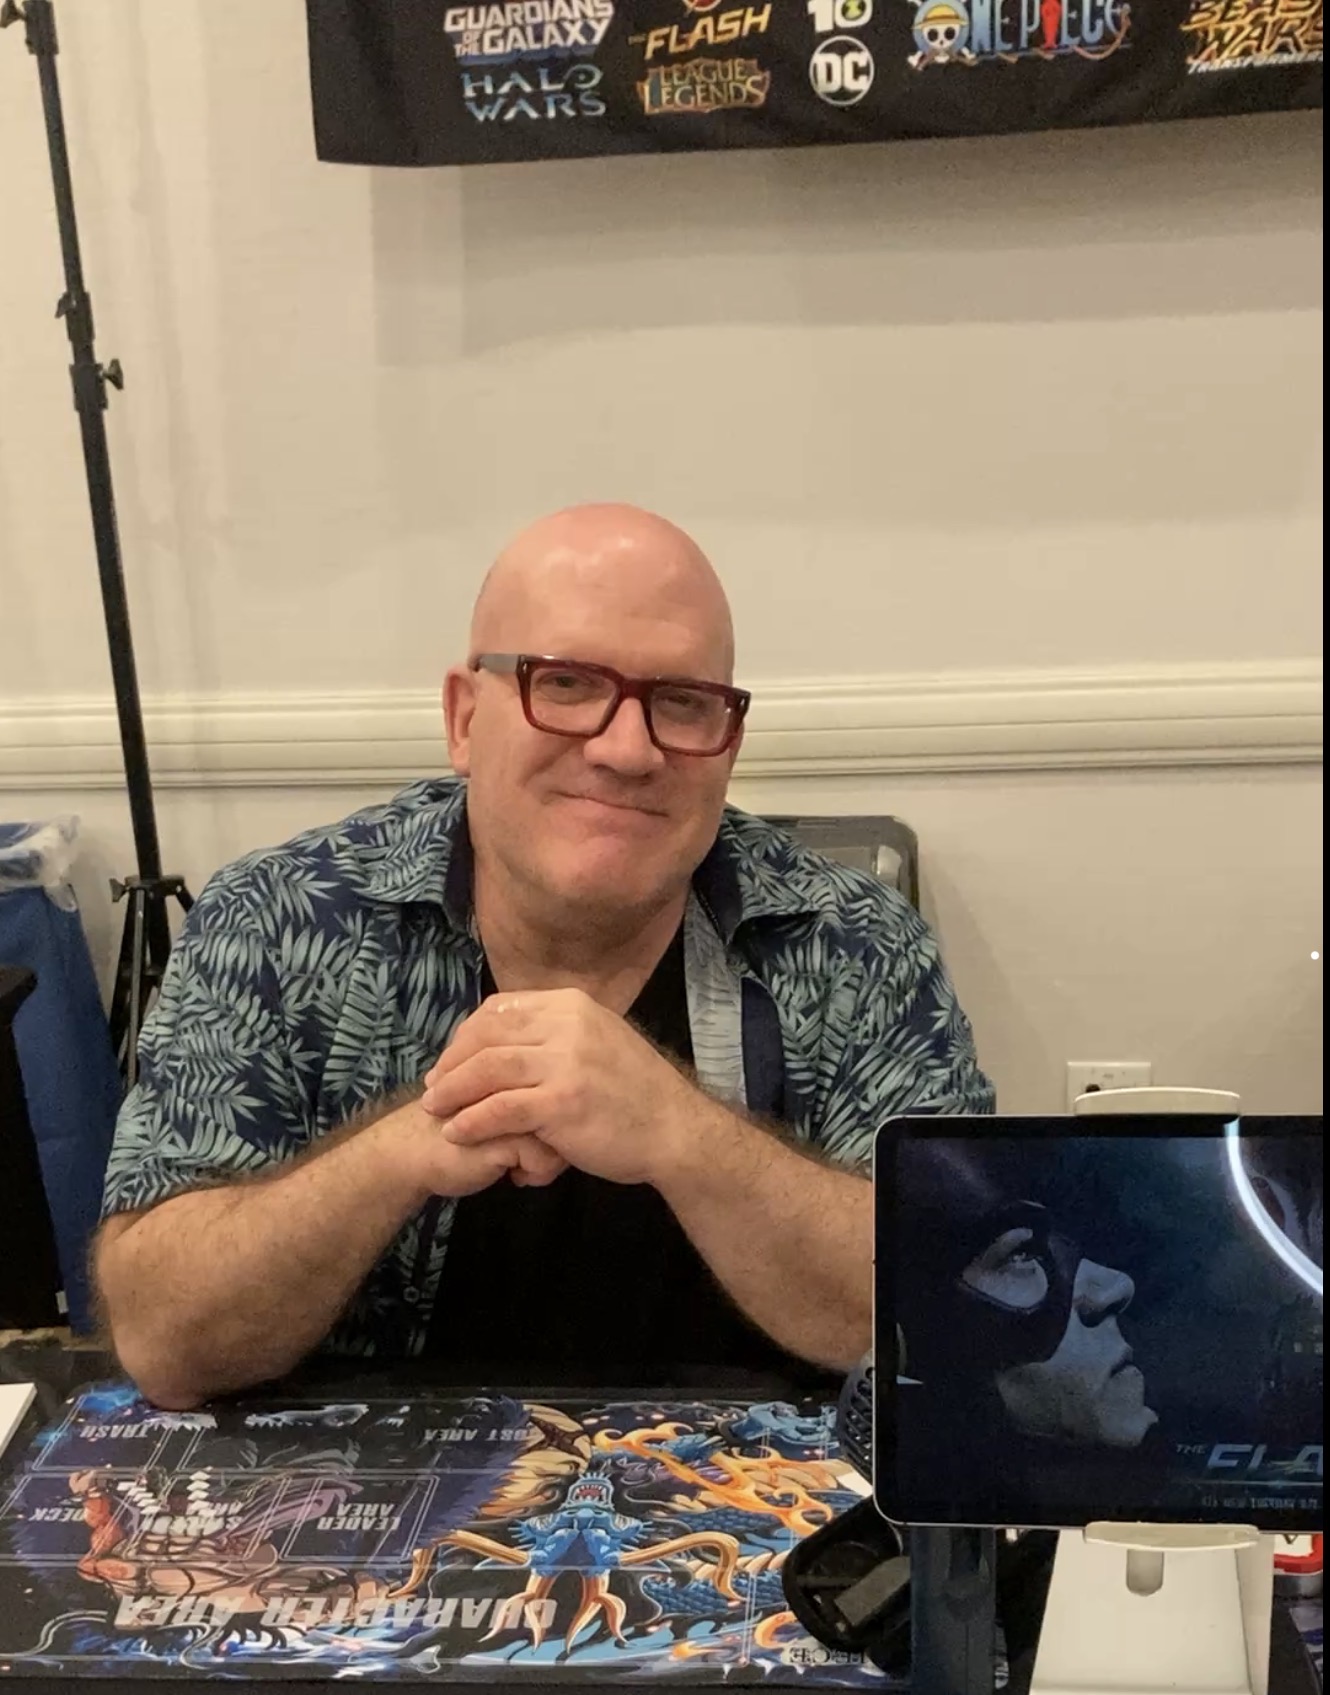
Many people from all over came by to this event. They had voice actors like David Sobolov, who voiced the villain Kaido in One Piece, and he has voiced many other known characters throughout his career.David Sobolovis a Canadian voice actor and director, best known for his roles as Gorilla Grodd in various DC media, Drax the Destroyer in various Marvel media, Kaido in One Piece, and various characters in the Transformers franchise; notably Depth Charge in Beast Wars: Transformers, Shockwave in Transformers: Prime, and Battletrap and Apelinq in Transformers: Rise of the Beasts.
David Sobolov, March 27, 2026 at the Amazing Art Expo in Oxnard,CA
Cosplay Costumes
This event wasn’t just art for 3 days, it was also a Cosplay Event. On Saturday and Sunday of that event, there were many people in their costumes ready to enjoy all of the art, artists, voice actors and be a part of their favorite niche. I saw many costumes, such as Clone Troopers from Star Wars, Monkey D. Luffy costumes from One Piece, Disney Princesses along with people dressed up as their favorite anime and horror film characters. Saturday and Sunday reminded me of a smaller version of Comic Con, but with a lot art and cool looking cosplay costumes. You can check out Amazing Art Expo Instagram below —-
Ever since I got my 3D printer, I thought about starting an at-home 3D printing business. I have all the tools I need at my disposal, and just needed to take that first step to start. In this video, I document the beginning of my journey to starting my own small business out of my room, from getting my printer all set up, handling my first customers, and starting to market and advertise my services. Join me as I learn the ins and outs of being a maker, and trying to earn some cash at the same time!
Follow my Instagram accounts to keep up as I continue this project!
Ever since I began diving into the complex hobby of 3D-printing at the beginning of 2025, I had the idea of starting a small scale print farm as a side hustle. It seemed easy enough; I already had all I needed to start: a printer, filament, and access to the best marketing tool in history – social media. Despite apparent ease of entry, I was seemingly met with hurdles each step of the way, and although these issues are shared by just about everyone in the hobby space, I hope to share my own experiences dealing with them.
1. Setup
The first, and in my case, easiest, challenge that needed tackling is actually setting up the printer. The out-of-box experience can differ wildly depending on the brand, but one of the reasons I ended up buying the Elegoo Neptune 3 Plus was its ease of setup. The printer came almost complete when it arrived, with the base plate (housing its power supply, printing bed, and microcontroller) and gantry (the part responsible for vertical, or Z axis, movement with the hot-end attached) needing to be screwed together with braces attached to keep everything rigid. In all, assembly took about 30 minutes when following the included instruction booklet. Easy. The real challenge began once it was powered on for the first time: leveling. Almost all modern 3D printers have some system of auto-leveling baked in, where the hot-end, the bit that actually heats and extrudes the filament, moves up and down over a set number of points along the printing bed to measure something called the Z-offset. This offset tells the printer how much vertical movement to add or subtract from its determined path depending on where it is on the bed, and this is usually enough to ensure quality print layers. However, this can only compensate for so much, and to ensure it isn’t overcompensating, manual leveling of the bed must be done. This was the biggest challenge for me as a newbie to the hobby, as it required multiple cycles of heating and cooling the bed, all while adjusting the level with screws under the bed to ensure it was as level as possible. This step was easily the longest, taking several hours over a few days to ensure things were right before I could even do a test print, but once things looked good I was off to the races.
2. Slicers
Or at least I thought I was. The next hurdle I needed to pass was choosing a slicer to use. A slicer is a program for your computer that takes a 3D model and “slices” it into hundreds or thousands of layers and converts those to instructions for the printer to read. This is how the printer knows what paths to take, how much filament to extrude and at what temperature to make the model you want. Each slicer, no matter who it’s made by, works in the same way, but there are some that are better than others. The one that was recommended for my printer was programmed by Elegoo, called Cura Slicer, and was made to be as user friendly as possible, which sounded great for me. But, as I browsed through forums for my printer I kept coming across people saying the print quality with Cura isn’t as good as another called Orca. As I didn’t want to be wasting time and filament on prints I wouldn’t be happy with, I ended up going with Orca at first. But my word, is Orca a nightmare for beginners. From selecting which printer you have to the endless, meaningless adjustments you can make to the print, this program gave no information to help you if you didn’t already know what you were doing. It was so overwhelming and poorly designed that I ended up having to take its quality at other’s words, and scurried back to Cura where I at least was walked through its initial setup. The one thing I took away from that debacle was it’s okay to get your toes wet in the kiddie pool before taking a high-dive into the deep end. And when I did finally get a test print made, I was more than happy with its quality, and it showed my leveling gauntlet from earlier had paid off.
Prints for my businesses first customer, hanger clips for ceiling fan remotes, sliced on Cura
3. Mishaps and Maintenance
There’s no doubt that 3D printers are complicated machines. Their precision comes at the cost of tight tolerances and smooth turning motors to make each layer as even as possible, and constant check-ups are required to make sure you don’t end up with a smeared mess of plastic dangling off the nozzle. I learned that there were numerous steps to take before setting off on a print to make sure things went smoothly, from ensuring bolts that held that hot-end onto the gantry were tight to lubricating the stepper motors on the Z-axis to help keep layers consistent. The two biggest steps I failed to take at first, though, were making sure the nozzle was clear of clogs and keeping the PEI bed-sheet clean.
The hot-end nozzles are small, threaded brass with a 0.4 mm opening for the filament to flow out of, and one of the most common issues to have with them is a small metal flake left over from manufacturing coming lose and clogging the opening. When this happened to me, I only noticed when molten filament began flowing out of the cooling fan before solidifying, creating an enormous blob that clogged up the entire hot-end. Thankfully, a teardown and an hour of scraping bits away saved me from a costly replacement. The other issue that left me with ruined prints (on numerous occasions) was failing to clean the PEI bed-sheet clean. PEI, or polyetherimide, bed-sheets are useful 3D printer accessories as their texture is grippy when hot, and then smooth once they cool allowing for easy removal of a printed piece. However, they’re useful only as long as they’re maintained, as they’re really vulnerable to dust and fingerprints that compromise their adhesive qualities. I failed to properly clean mine with soapy warm water on several prints, resulting in the print breaking loose from the bed and smearing hot plastic all over, wasting meters of material. I thought I had learned my lesson the first time…
My Lessons Learned
If there is any single takeaway from all the issues I’ve had getting into 3D printing, it’s this: go slow. There isn’t any rush, as with any hobby, and there’s no expectation to get things perfect right away. I feel as though I was disillusioned by online guides and self-proclaimed gurus into thinking things would be smooth as butter once I got the printer up and running, and getting dragged through the mud of issues and setbacks only solidified what I ended up learning. 3D printing isn’t an easy hobby to jump into, and it takes patience and some technical know-how to navigate the deluge of information and come out sane. I do really hope that in time it becomes more simplified; closer to a true plug-and-play experience. There are some products out there that have been tailored to new hobbyists, such as the printers from Bambu Labs, but the cost of those is still a prohibitive barrier for some.
In closing, I hope my experiences can be taken not as a cautionary tale for those wanting to get into 3D printing, but as valuable information on what to expect that is seldom mentioned openly online. 3D printing is a wonderful, satisfying hobby for those inclined to tinker and create, and one that no-one will ever truly master. There will always be a new technique, new thing to print, new modification to mess with, and plenty of screwups to learn from. And that’s why I love it.