Graduation season is just around the corner! Decorating your graduation cap is a fun way to add a personalized touch to your big day. Let’s talk about 3 easy ways to decorate your grad cap, so that you can get inspired and make your cap your own!
The items needed to make each cap can be found at your local craft store or even on Amazon, so they are all easily accessible. Customize the colors and design to your liking… let your imagination run wild!
1. Photo Cap
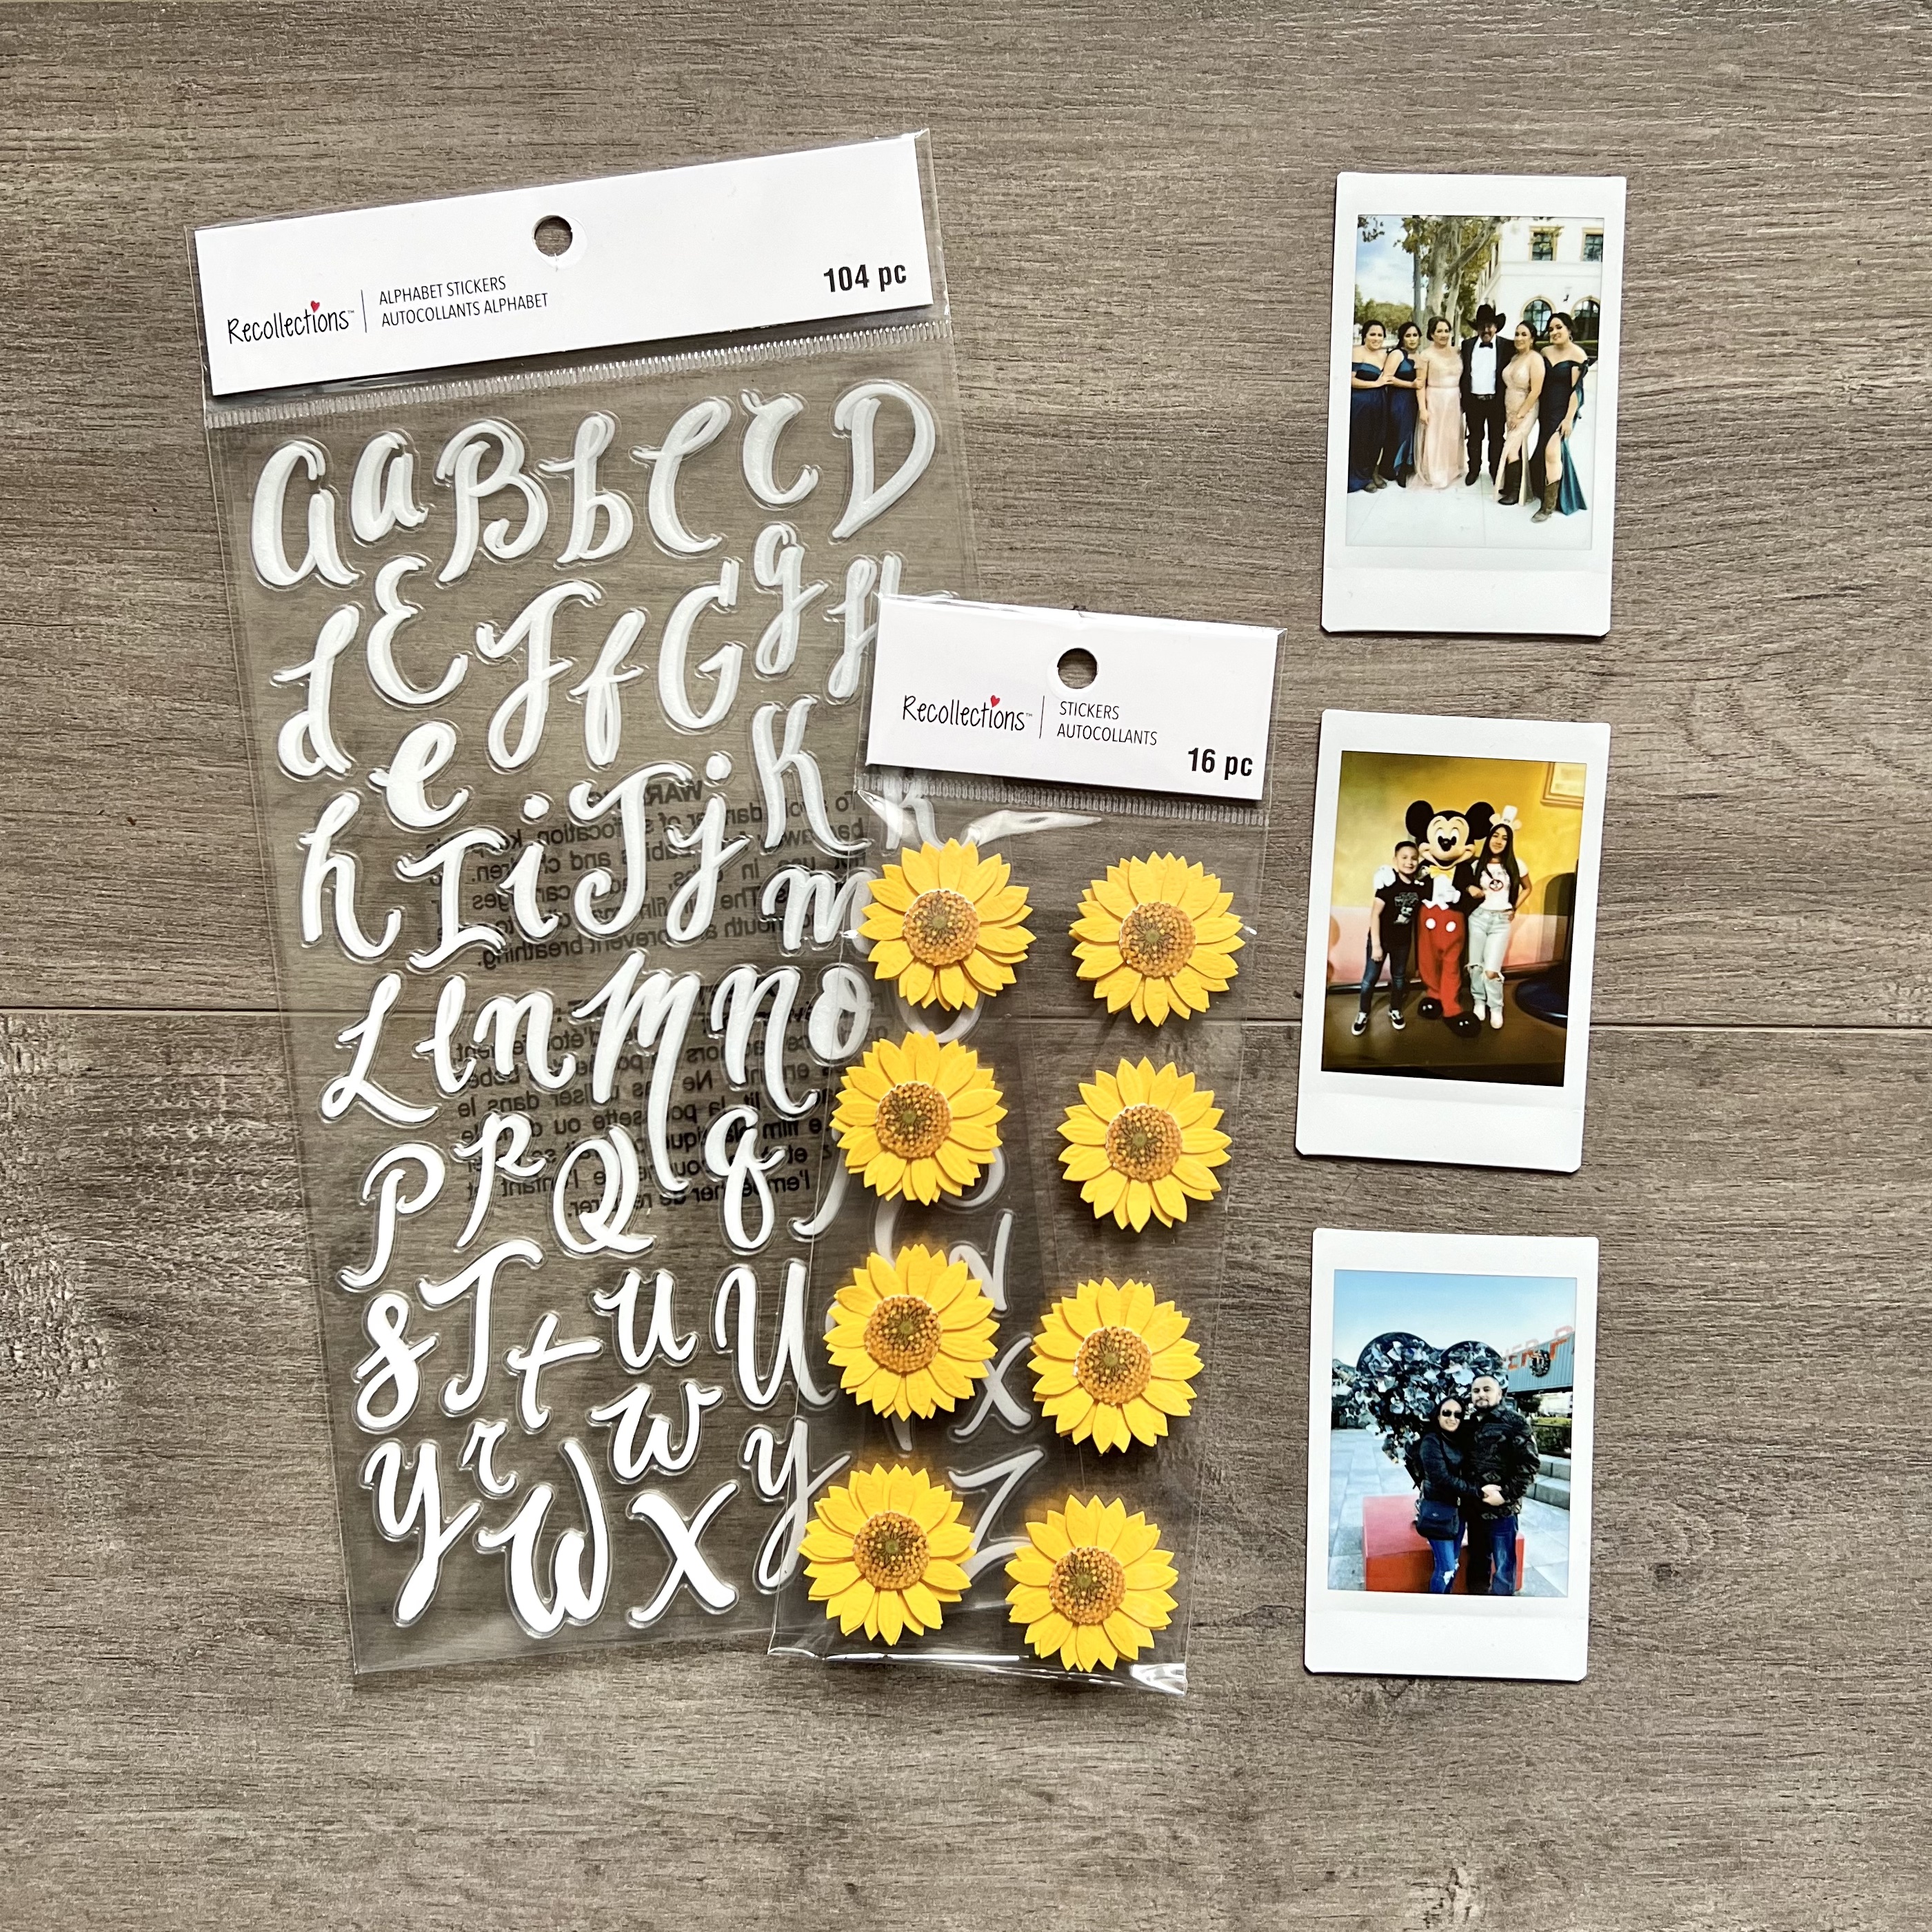

Items needed:
- 3-D Stickers
- Alphabet stickers
- Polaroids or other small photos
- Double-sided tape
- Hot glue gun and glue sticks
Our family and friends play a huge role in our success as students. What better way to honor them and their support than on your grad cap?
Grab some Polaroids or print out small photos and get to work! This one is super simple. Arrange the photos however you’d like, leaving room for text or other decorative elements. You can stick the photos onto your cap with double-sided tape or using a hot glue gun!
Note: Your stickers should stick right on, but feel free to use some hot glue if they don’t feel secure. You don’t want to be worried about them falling off during your graduation ceremony.
2. Cardstock Cap
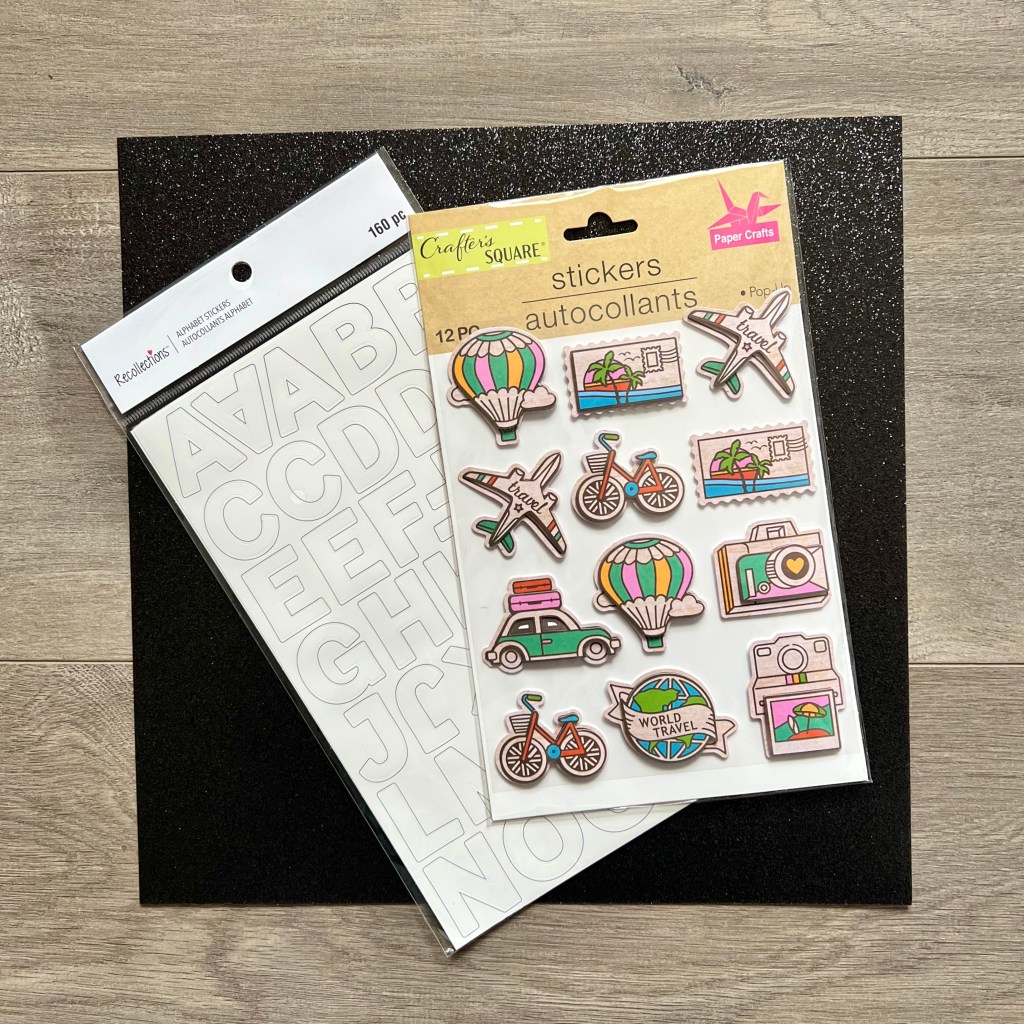

Items needed:
- Glitter Cardstock Paper
- 3-D Stickers
- Alphabet stickers
- Scissors
- X-ACTO knife
- Double-sided tape
Add some personality to your cap! Show off your interests or academic major with a design like this. Grab a piece of glitter cardstock in a color of your choice and use your scissors to cut it into a square that fits your cap (mine was 9.25” x 9.25”). Then, use an X-ACTO knife to cut out a circle in the center of the cardstock that fits the button on your cap (mine had about a 1″ diameter). This will be the base of your cap.
Now for the fun part! Add a phrase or quote using alphabet stickers and decorate using 3-D stickers. You can find a variety of colors and designs at your local craft store, so the options are truly endless. You can even go with patterned cardstock paper instead of glitter, if that’s more your style! Attached the decorated cardstock to your cap with double-sided tape and you’re ready to go.
3. Flower Crown Cap

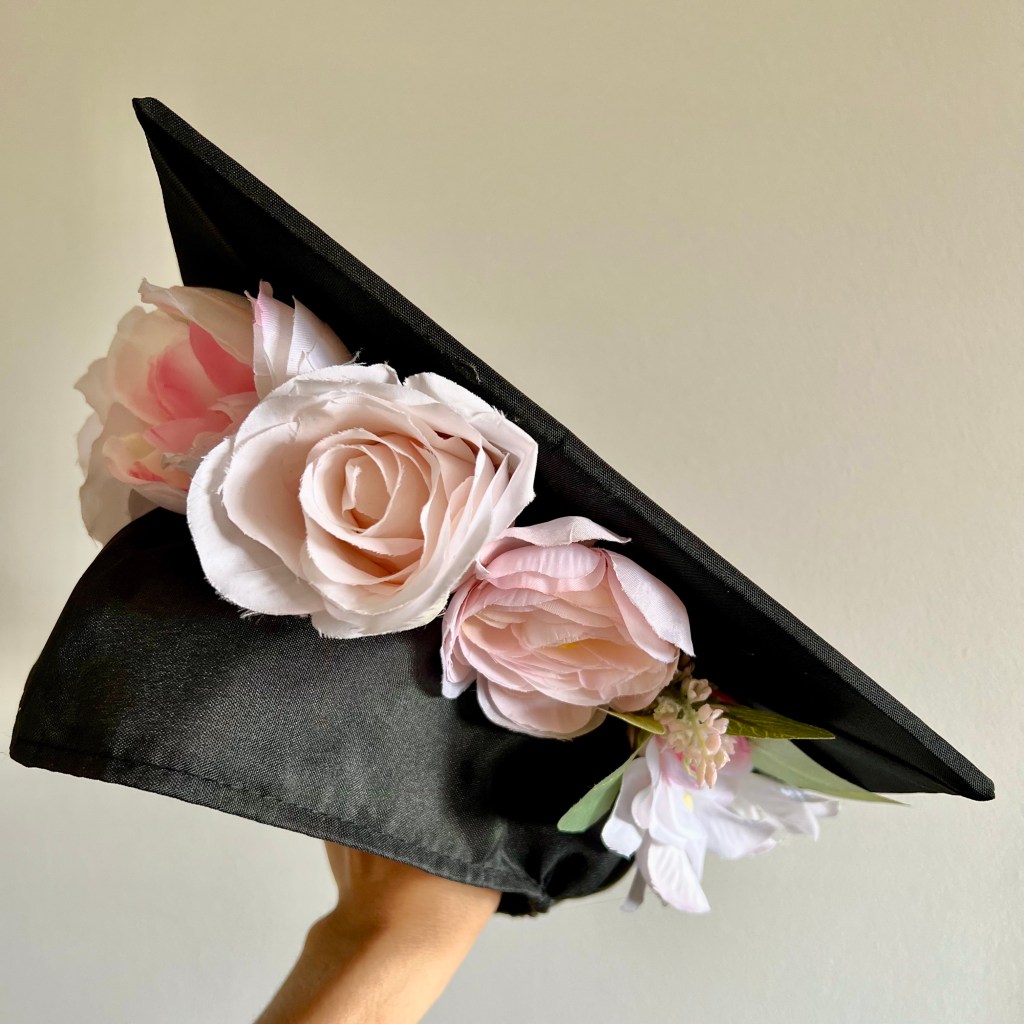

Items Needed:
- Alphabet stickets
- Artificial flowers
- Hot glue gun and glue sticks
This flower crown design is simple but adds a fun element to your graduation day outfit.
Pick out some artificial flowers in your favorite color. You should be able to pull them right off of the stems, but trim off any excess parts of the back side of the flowers if needed. Add some hot glue to the back side of the flowers and press them firmly against the bottom of the mortarboard (square part on the crown of the cap).
When you’re done, feel free to add a phrase with the alphabet stickers or other decorative elements on the top of the cap. I kept mine simple with a short phrase, but let your creativity flow!
Final Note
Before you attach anything onto your graduation cap, don’t forget to check the inside of your cap! Most caps will tell you which side is the front of your cap. This will help you make sure your design is right-side up.
Have fun creating and congrats, grad!

One reply on “3 Easy Ways to Decorate Your Graduation Cap”
I love this! I am graduating with my daughter this Spring and will definitely these tips.
LikeLike